


Rain garden how to build is a question more homeowners are asking as lawn flooding and yard drainage problems get worse each season. If you’ve had puddles, soggy patches, or erosion after heavy rain, this guide shows exactly how to design and build a rain garden yourself—even on a tight budget—and when calling in a pro makes sense.
Key Takeaways
- A rain garden is a shallow, planted basin that captures and drains stormwater, solving chronic lawn flooding for a fraction of the cost of regrading or drains.
- DIY rain gardens typically cost $3–$5/ft²; a pro-installed system is $10–$20/ft². Most homeowners save thousands with DIY—if soil and slope fit.
- Avoid common mistakes: choose a well-draining, low-lying spot at least 10 feet from your house, test your soil’s drainage, and use tough native plants for success.
- Why a Rain Garden Fixes Lawn Flooding (Quick primer)
- Step-by-Step Rain Garden How to Build
- Advanced Analysis & Common Pitfalls
- Conclusion
- FAQs
Why a Rain Garden Fixes Lawn Flooding (Quick primer)
A rain garden is more than a “pretty dip” in the yard. Think of it as a living sponge—a shallow basin (about 6 inches deep) dug below your soggy lawn area, then filled with special soil and deep-rooted native plants. Instead of simply redirecting runoff to your neighbor or the street, a rain garden captures, detains, and filters rainwater from rooftops, driveways, and patios. Water soaks in, pollutant loads drop, and yard flooding turns into a colorful wildflower patch that’s easier to care for than turf.
- How to stop lawn flooding: A rain garden intercepts up to 90 percent of roof and driveway runoff, preventing it from pooling near your foundation or drowning your lawn (see EPA guidance).
- Rain garden for drainage problems: Studies show they reduce site drainage issues, slow erosion and add pollinator habitat.
- Basic stats: Most home systems are 100–400 ft² and can absorb thousands of gallons of rain each year (Virginia Tech Extension).
Step-by-Step Rain Garden How to Build
Ready to tackle your drainage challenge head-on? Here’s a realistic, low-cost DIY plan for rain garden design and construction (including safety, pro warning signs, and budget tips):
- Pick the right location:
- Choose a naturally low spot where water flows after rain.
- Must be at least 10 feet from the house or foundation.
- Avoid putting directly under tree canopies or on steep slopes (>12%).
- Watch for underground utilities—call 811 before digging (Call 811 Locator).
- Size your rain garden:
- Measure or estimate the roof area (feeding the gutter/downspout you’re capturing) PLUS paved driveway or patio draining to site.
- Rule of thumb: 10–20 percent of your drainage area (e.g., 2,000 ft² roof = 200–400 ft² rain garden).
- Typical home range: 100–400 ft². If in doubt, bigger is safer.
- Do a simple 24-hour percolation test (drainage) test:
- Dig a 12-inch-deep, 6-inch-wide hole where the garden will go. Fill with water. Let drain, refill, and time how long it takes to empty.
- If water drains in <24 hours, perfect. If >24 hours, soil must be amended with 25–30% sand and compost—or, for heavy clay/non-draining soils, install an under-drain or call a pro (Chesapeake Bay Trust Fact Sheet).
- Mark and excavate:
- Shape the garden 6 inches deep (planting zone) with level bottom/benches, gentle side slopes—not steep pits!
- Store excavated soil for berm on downhill edge (to trap runoff).
- Install overflow & under-drain if needed:
- Create an emergency overflow spillway—line with stone or use curb cut if near the street.
- If soil remains wet >48 hours during test, lay a perforated pipe at the base, daylit to a safe outfall.
- Backfill with amended soil:
- Mix roughly 25–30% coarse sand, 25–30% compost, remainder native topsoil.
- Spread 2–3 inches weed-free mulch on top.
- Plant in moisture zones:
- Wet center: Swamp Milkweed, Blue-Flag Iris, Joe-Pye Weed, Carex stricta.
- Edges: Red-Twig Dogwood, Buttonbush, Aster, native grasses (see FAQ below for zone details).
- Space per mature size, keeping roots clear of overflow outfall.
- Water deeply and weed first season:
- Water once a week (if no rain) until plants show healthy new growth.
- Replenish mulch annually—2–3 inches (spring or early fall).
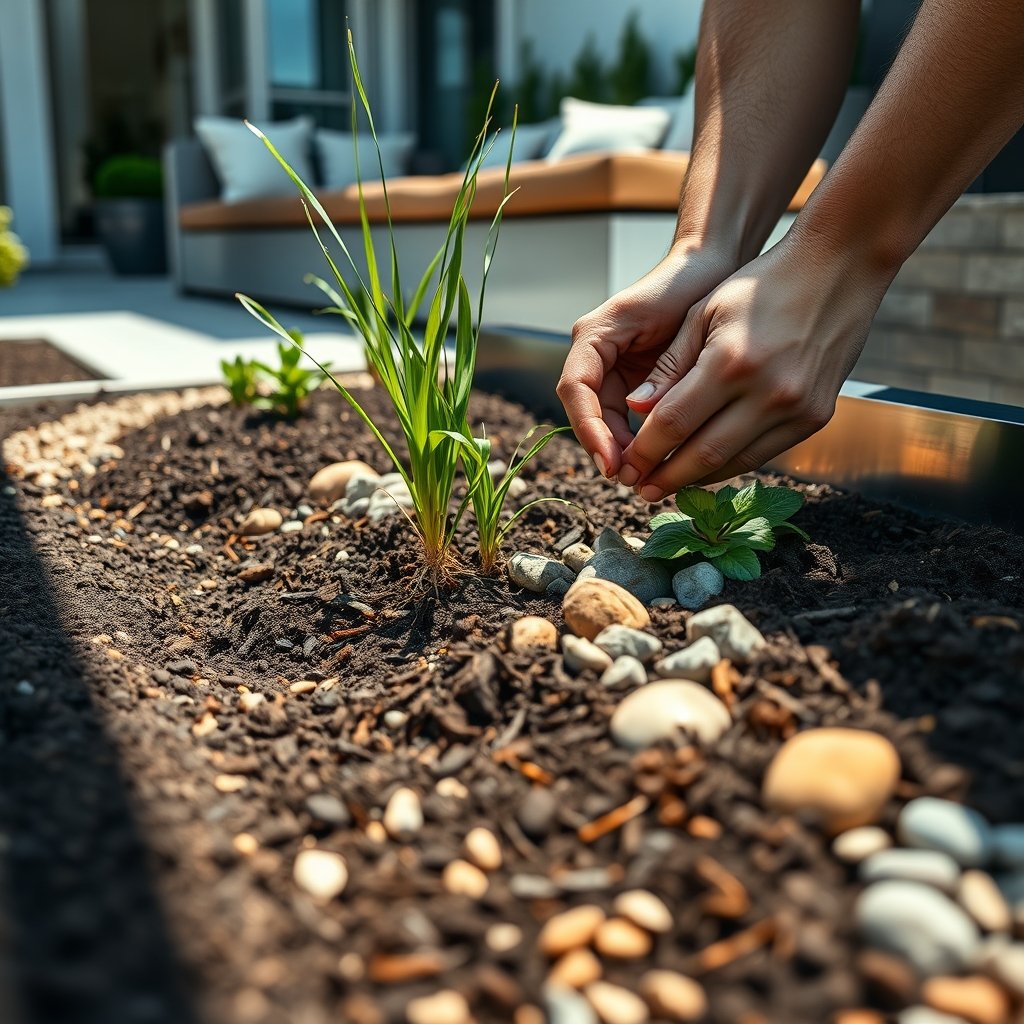
For savvy DIYers, here’s how to keep it cheap: Use native wildflower seeds instead of potted plants, source soil amendments by the yard to save, and check if your local extension office offers rebates or free native plants. Not sure about low maintenance? See this native plants cost-saving guide.
Want to maximize your home value and curb appeal? Check out how xeriscaping ideas integrate perfectly with a modern rain garden for low-water, low-mow landscapes. And if you have yard flooding plus a wet crawl space, see this crawl space drainage guide.
Advanced Analysis & Common Pitfalls
Even skilled DIYers run into the same few problems—prevention and fixes are straightforward if you know what to watch for:
- Poor siting: Putting the rain garden too close to a foundation or flat spot causes persistent puddling and can risk basement leaks or tree root damage. Place at least 10 feet from foundations and 8 feet from big trees.
- Skipping the percolation test: If the soil won’t drain, your basin becomes a permanent mosquito pond. Always test; clay sites need sand and compost or an under-drain (see table below).
- Insufficient soil amendment: Rain garden design relies on fast-draining soil—native clay must be loosened.
- Wrong plant in the wrong zone: Drought-tolerant plants will die in the wet center, and wetland plants wither on the dry edges.
- Not marking utilities: Hitting buried gas, water, or electric lines is dangerous and expensive. Always call 811 before any digging.
- Neglecting summer watering: First-year plants need deep, slow watering to develop roots. Missed this? Expect weeds and dieback.
| Project Size | DIY Approach | Professional Install | Annual Maintenance Cost |
|---|---|---|---|
| 100 ft² | $300–$500 | $1,000–$2,000 | $50–$100 |
| 300 ft² | $900–$1,500 | $3,000–$6,000 | $150–$300 |
| 400 ft² | $1,200–$2,000 | $4,000–$8,000 | $200–$400 |
(Based on average ranges from national cost data)
Unsure when to ask for help? If your site has a steep slope beyond 10%, drains off-site stormwater, or has standing water after 48 hours even with new soil, hire a rain garden pro. And if your main concern is water damage around the foundation, pairing a rain garden with a whole home system upgrade can deliver better peace of mind ( see more cost pros/cons).
Conclusion
If you have yard flooding and want a proven, budget-smart way to solve it, a rain garden is your most effective DIY fix. It does more than collect water: it protects your foundation, stops erosion, reduces lawn maintenance, and adds instant beauty—all for a fraction of the cost of French drains or massive grading. Just follow the plan above, adapt to your site, and you’ll be amazed what a weekend, a shovel, and a few tough native plants can really do. If you hit stubborn soil, steep slopes, or persistent standing water, call a pro for guidance or use our rain garden how to build flowchart above. Ready to transform your yard? Start planning your rain garden this spring or fall—your foundation, your wallet, and the pollinators will thank you.
FAQs
How long does it take to build a rain garden?
Most DIYers complete a 100–300 ft² rain garden over 2–3 weekends, including site prep, excavation, soil mixing, and planting. Larger or sloped sites may need additional grading days.
Which plants work best for rain gardens?
Choose native perennials with deep roots. Top picks include Swamp Milkweed (Asclepias incarnata), Blue-Flag Iris, Joe-Pye Weed, Red-Twig Dogwood, and Buttonbush. For more on sourcing affordable native plants, see our native plants savings guide.
Can rain gardens fix all drainage problems?
No. Rain gardens are ideal for surface water from roofs and driveways, but not for year-round high groundwater or severe site flooding. Soils must be able to drain within 48 hours. Poorly draining clay or off-site flows typically require sub-surface drains or professional yard grading.
What ongoing maintenance is needed?
Weed monthly the first year, water deeply once a week until plants are established, add 2–3 inches of mulch in spring or early fall, and prune or replace dead plants as needed. Annual cost is typically $0.50–$1/ft².
How do I connect roof runoff or a rain barrel to my garden?
Attach a flexible buried drain line or splash pad extension from your downspout or rain barrel to the top of your rain garden. Use rocks or riverstone at inlets to prevent erosion, and always provide an overflow spillway.