

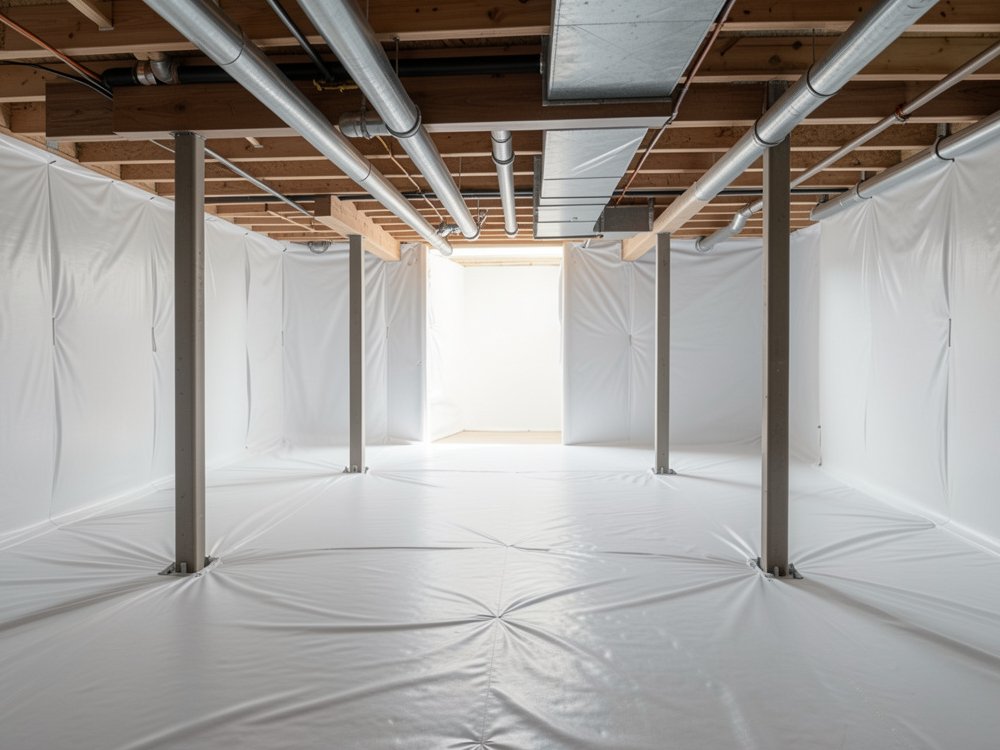
Crawl Space Encapsulation is one of the most effective ways to stop moisture, mold, and energy loss beneath your home. A properly installed Crawl Space Encapsulation system seals the crawl area from outside humidity and helps protect flooring, insulation, and structural wood from long-term damage. Because costs can range from $5,000 to $15,000 or more, understanding what separates a quality installation from a cheap shortcut is critical before hiring a contractor.
Key Takeaways
- Full crawl space encapsulation costs $5,000–$15,000, with regional and complexity-based differences; get multiple bids to reflect real local rates.
- A true encapsulation is far more effective than a vapor barrier alone—especially for humidity or mold—but requires superior sealing, drainage, and dehumidifier size to avoid common failures.
- Most post-install problems trace back to missing drainage, poorly sealed seams, or skimping on dehumidifier size—request hard data (humidity and photos) from your contractor for proof.
- What Is Crawl Space Encapsulation — and When You Need It
- National Cost Overview — Per Square Foot and by Project Complexity
- Regional Price Expectations and Examples
- What Drives Cost Up — Common Complexity Triggers
- Typical Post-Install Problems Homeowners Report (and How to Prevent Them)
- DIY Vapor Barrier — Realistic Limits and What Pros Always Do
- Drainage Systems — Design Details Most Articles Skip
- Insulation R-Value — Real Results vs Marketing Claims
- Mold Remediation Scope, Cost Impact, and When to Hire a Pro
- Measurable Performance Metrics to Demand from Contractors
- Contractor Bid Checklist — Questions, Deliverables, and Red Flags
- Quick Decision Guide & Sample Budget Scenarios
- Long-Term Benefits, ROI, and Maintenance Plan
- Call to Action — How to Get a Reliable Quote and Next Steps
- Frequently Asked Questions
What Is Crawl Space Encapsulation — and When You Need It
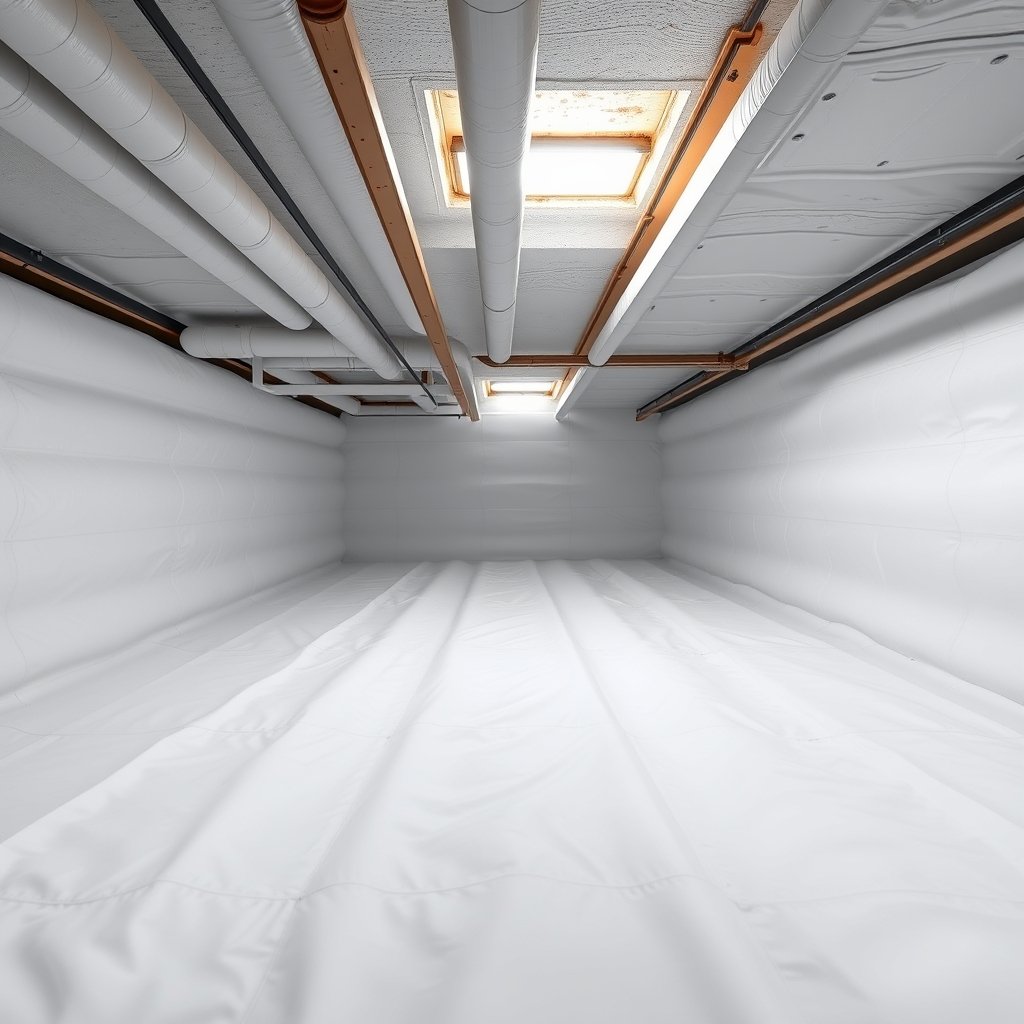
A complete Crawl Space Encapsulation system also improves indoor air quality and energy efficiency. Many homeowners choose Crawl Space Encapsulation to stop recurring moisture and mold problems permanently.
Crawl space encapsulation means fully sealing the earth and all crawl surfaces—walls, floor, and often piers—with a heavy-duty moisture barrier (not just a loose vapor sheet), adding air sealing, and usually installing a dehumidifier. It’s a major upgrade over traditional vapor barrier methods, which only slow vapor coming up from exposed soil and do little to stop humidity, air leaks, or pest entry.
Signs you need encapsulation (not just a vapor barrier):
- Persistent musty odors or visible mold anywhere below the floor
- Standing water after rain, or damp ground that never dries
- Pests (insects, rodents) entering from below
- Unexplained high energy bills, especially in summer or winter
- Crawl space is being used for any storage or adds structural risk
According to Polyguard, full encapsulation is especially wise when you have humidity or musty issues—since it “completely seals the crawl space and provides superior moisture protection” compared to traditional vapor barrier alone.
To learn how proper insulation adds to ROI for major home projects, see our guide on spray foam insulation cost.
National Cost Overview — Per Square Foot and by Project Complexity
The total price of Crawl Space Encapsulation depends on crawl space size, drainage needs, and material quality.
The crawl space encapsulation cost in the US averages $5,000–$15,000 for most homes (roughly $5–$9 per square foot, with an average near $7/ft²). For a 1,000 to 1,500 square foot crawl space, expect these project tiers:
- Basic (seal-and-cover only): $5,000–$8,000
- Mid-range (dehumidifier, higher-grade barrier, minor repairs): $8,000–$12,000
- High-complexity (drainage, mold, structural fixes): $12,000–$15,000+
Labor costs rise when working in tight, low-clearance areas or when drainage is needed. Materials drive cost too: heavy-duty barriers (12–20 mil), reinforced tapes, rigid foam insulation, and quality dehumidifiers quickly add up.
These numbers match data from Epic Spray Foam and Restorable Solutions.
See also: how project size and complexity affect ROI in our garage conversion ADU cost breakdown.
Regional Price Expectations and Examples
In humid regions, Crawl Space Encapsulation projects often require stronger drainage systems and larger dehumidifiers.
Actual local pricing can vary by 20 percent or more, based on labor costs, regional building codes, and local crawl space norms. Here’s a snapshot for common states:
| Region/State | Typical Cost Range | Per SF Range | Notes |
|---|---|---|---|
| Pennsylvania | $5,000–$13,500 | $5–$9 (avg $7) | Size and mold drive upper range |
| Virginia | $1,500–$15,000 | Varies widely | Crawl height important |
| Georgia | $5,000–$15,000 | $5–$12 | Drainage is often required |
| U.S. National | $5,000–$15,000 | $5–$9 | Midpoint is $7/ft² |
For context, internal research at Crawl Space Care VA shows how square footage and crawl height change prices—tight, dirty jobs cost more.
What Drives Cost Up — Common Complexity Triggers
Older homes usually require more extensive Crawl Space Encapsulation work because of moisture damage and ventilation issues.
Several factors push a straightforward encapsulation into the high-cost band:
- standing water or drainage problems—requires a full crawl space drainage system
- Visible or hidden mold (adds $1,000–$5,000+ for proper mold remediation)
- Rotted or damaged framing (replacement and repairs needed, priced separately)
- Poor repairs/materials from prior jobs that must be removed or redone
- Low-clearance crawl spaces—slow, high-risk labor
According to BioSweepSE, “Projects requiring drainage systems, sump pumps, or professional mold remediation commonly push costs above $12k–$15k.”
Typical Post-Install Problems Homeowners Report (and How to Prevent Them)
Poor workmanship is one of the biggest reasons Crawl Space Encapsulation systems fail early. Proper sealing is critical for long-lasting Crawl Space Encapsulation performance.
Many homeowners report recurring trouble even after encapsulation. Top complaints—and proven ways to prevent them:
- Musty odors or persistent moisture: Almost always from unsealed seams or vents; fix with professional-grade overlap (12+ inches) and full perimeter sealing.
- Mold regrowth: Omitted or undersized dehumidifier, or barriers punctured post-install (be careful moving storage around).
- Water intrusion: Missing or badly installed drainage—encapsulation alone is not waterproofing.
- Pest ingress: Thin, non-pest-rated poly and open gaps—demand a true pest barrier and check work for gas and pipe entry points.
Most issues trace back to skipping steps or using cheap materials—get a detailed contract and “as-built” photos to avoid surprises.
DIY Vapor Barrier — Realistic Limits and What Pros Always Do
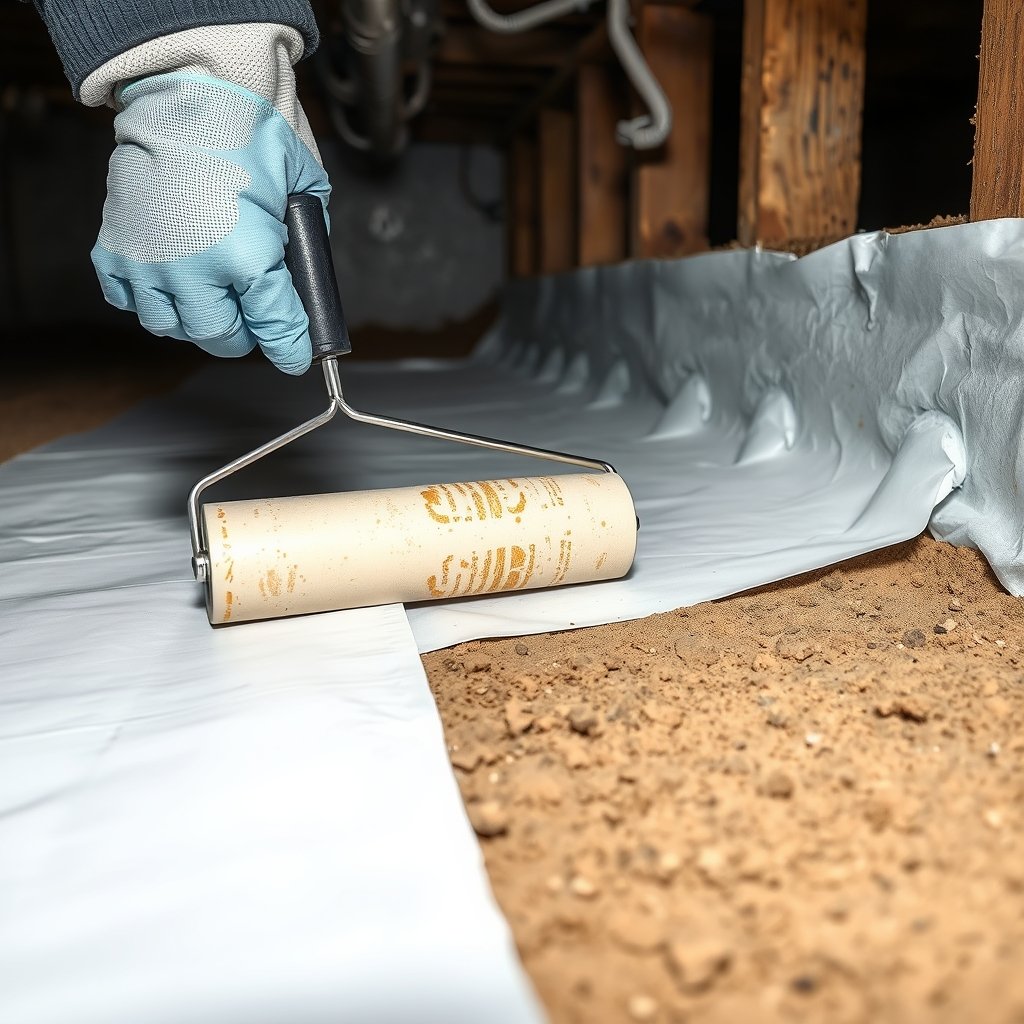
DIY projects can save money, but most homeowners should limit their work to installing 6–10 mil polyethylene sheeting directly over the crawl floor. Overlaps should be at least 12 inches at every seam. Use approved butyl or acrylic seam tape for sealing.
Professional Crawl Space Encapsulation jobs go much further. Contractors seal walls, piers, vents, and perimeter gaps using mechanical fasteners and heavy-duty moisture barriers. Most DIY homeowners are not equipped to handle drainage systems or mold removal correctly.
Skimping on barrier thickness, seam overlap, or tape quality is one of the biggest failure points. Incomplete air sealing also leads to recurring humidity and mold problems.
Competitor articles often skip important installation details. The vapor barrier should run at least 6 inches up the wall, and seams should overlap by a minimum of 12 inches. Vapor barrier-only solutions work best in dry crawl spaces without ongoing moisture problems.
For more detail on material specs, see our spray foam insulation cost guide.
Drainage Systems — Design Details Most Articles Skip
Drainage is the foundation of successful Crawl Space Encapsulation in wet climates.
A crawl space drainage system is required before encapsulation if there’s ever standing water. The system usually involves French drains (perimeter trenches with perforated pipe), proper slope to move water, discharge away from the foundation, and a sump pump if gravity flow isn’t possible. Pipe should be at least 3–4 inches diameter; all seams must be watertight. Drainage is what actually keeps water from building up under the barrier—skip this, and your investment will likely fail within a year, even with expensive encapsulation.
Good drainage is also crucial for energy savings—see our heat pump water heater rebate guide for energy optimization tips with other upgrades.
Insulation R-Value — Real Results vs Marketing Claims
Insulation is often upsold with encapsulation. Pay attention to:
- Type: Rigid foam (XPS or closed-cell spray), not fiberglass batt
- R-value: True R-performance depends on full air sealing, not just material rating
- ROI: Many articles claim high savings, but real results depend on installation quality, local climate, and connecting vapor and air barriers.
Most competitor articles quote theoretical R-values—but never show before/after humidity or energy data. Ask for humidity measurements and, if possible, before/after power bills or thermal photos so you can judge value.
Mold Remediation Scope, Cost Impact, and When to Hire a Pro
If you find active mold (black, green, or white growth), budget for professional remediation first. Pros will dry the crawl, scrub all accessible framing, apply mold inhibitors, and repair or reinforce any weakened wood. This can add $1,500–$6,000 or more, depending on damage. Don’t encapsulate until all wood is under 18 percent moisture content and all visible mold is gone. Most DIY attempts miss deep-rooted wood mold, leading to rapid regrowth and wasted encapsulation money.
Measurable Performance Metrics to Demand from Contractors
Demand a “before and after” data set—not just a promise. Require these:
- Crawl space humidity level (pre- and post-install, aiming for 45–55 percent)
- moisture content of wood subfloor and joists (use a pin-type meter)
- Photos of seam overlap, vent closures, and drainage before barrier is sealed
- Dehumidifier sizing and drain method
- Warranty in writing (ask for 10+ years on materials and seams)
This basic data is often omitted in competitor articles and a leading source of consumer frustration. See our aging-in-place bathroom remodel guide for more best practices on contract specs.
Contractor Bid Checklist — Questions, Deliverables, and Red Flags
Use this checklist to compare bids and avoid the most common problems:
- Ask: What’s the brand and thickness of all materials? (12–20 mil recommended)
- What type/brand of tape and sealant is used—and at what overlap?
- What’s the drainage approach, slope, and sump/discharge plan?
- Who does mold remediation or wood repair, and is it certified?
- What is the warranty on all encapsulation work?
- Will you provide pre- and post-install humidity/moisture readings, plus photos of the jobsite?
- Red flags: Vague quotes, refusal to test or measure, lowest price by miles, “we don’t need a dehumidifier,” or only using thin vapor barrier over dirt.
Many bad installs trace back to skipping drainage or sealing steps. See contract details in our multi-generational home addition guide for how to tighten up scope and avoid “phantom” extras.
Quick Decision Guide & Sample Budget Scenarios
This simplified matrix helps you match your crawl space problem to the likely solution and budget:
| Crawl Space Type | Problem Severity | Recommended Scope | Typical Cost Band |
|---|---|---|---|
| Dry, no visible mold | Minimal | Vapor barrier only, seal vents | $2,500–$5,000 |
| Damp, high humidity | Moderate | Encapsulation with dehumidifier | $8,000–$12,000 |
| Standing water, mold, or rot | Severe | Drainage system, mold remediation, full encapsulation | $12,000–$18,000 |
Tip: Always get at least three bids—even small differences in scope or materials can drive costs up or down by thousands. For reference, the bands above are based on research from Restorable Solutions, SCS Foam, and Epic Spray Foam.
Long-Term Benefits, ROI, and Maintenance Plan
Over time, Crawl Space Encapsulation can reduce repair costs caused by moisture and wood rot.
Done right, encapsulated crawl space benefits include:
- Lower indoor humidity, less mold, better air quality
- Lower cooling and heating costs (expect 10–20 percent savings, but verify with your own bills)
- Fewer pests—and no musty odors drifting up from the crawl
- Protection against wood rot and structural issues below your home
But these returns only last as long as the seal stays intact: check dehumidifier operation every 3–6 months, inspect barriers for rips annually, and retest humidity each spring.
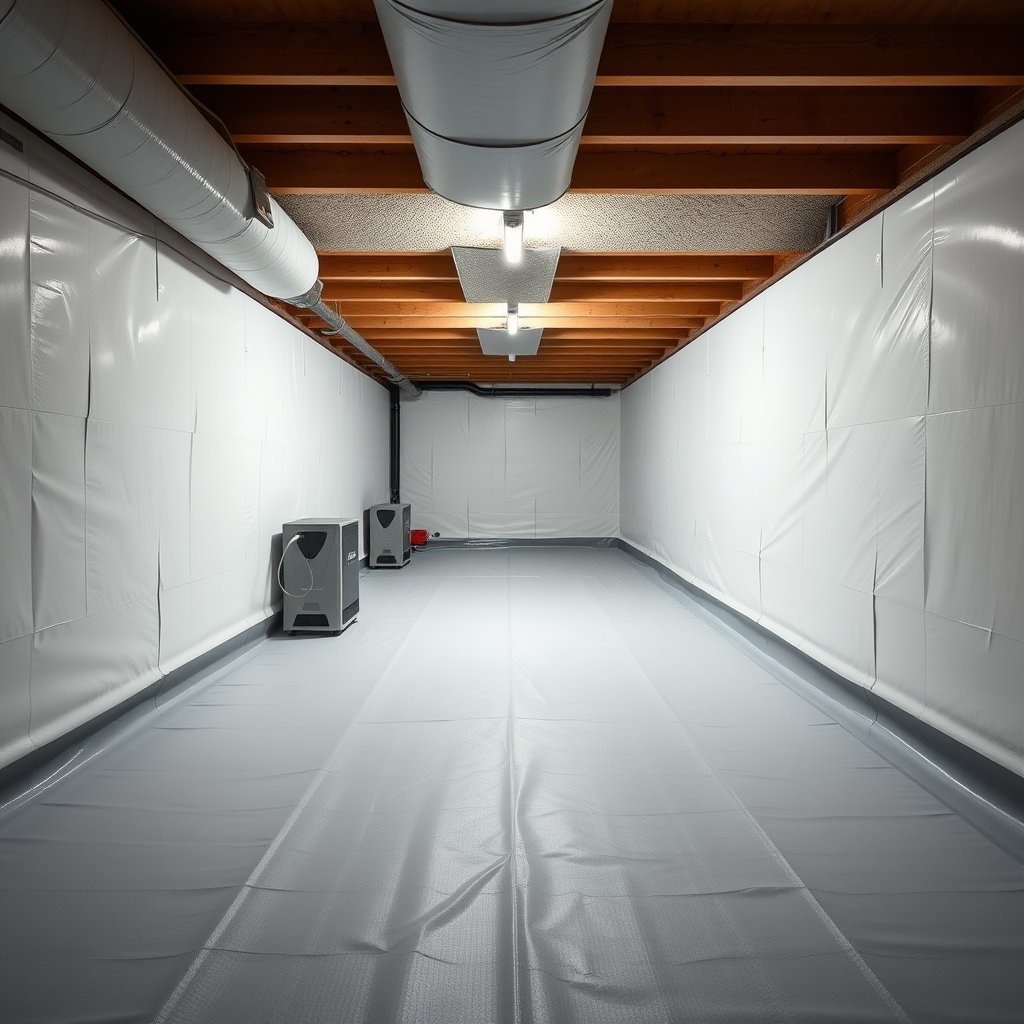
Long-term data is rare (as Polyguard notes), so track your own pre- and post-project numbers for confidence in your ROI. If other upgrades are on your radar, check our EV charger installation guide for more ways to boost property value and comfort.
Call to Action — How to Get a Reliable Quote and Next Steps
Ready to take control of your crawl space? Use this contractor email template for your first three bids:
Subject: Request for Crawl Space Encapsulation Quote
Please inspect and bid my crawl space for encapsulation. Please provide:
– Pre- and post-install readings of crawl humidity and wood moisture
– Listing of barrier brand/thickness, tape/sealant specs, dehumidifier size
– A schematic or photos showing drainage, seams, and finished results
– Written warranty on all seams, materials, and drainage*Note: I am comparing three area contractors. I will not consider bids without all requested pre- and post-work documentation. Thank you!*
Red flag: Never accept a “handshake” or quick estimate—insist on written specs, jobsite photos, and humidity numbers. For more project savings, compare with strategies in our whole home generator guide.
Investing in professional Crawl Space Encapsulation helps protect your home’s foundation, air quality, and energy efficiency. Before hiring a contractor, compare multiple Crawl Space Encapsulation quotes and request detailed moisture readings.
Frequently Asked Questions
How long does crawl space encapsulation last?
With quality materials (12–20 mil vapor barrier, proper sealing) and annual checks, encapsulation should last 15–25 years or longer.
Is encapsulation better than just a vapor barrier?
Yes—encapsulation with wall/vent sealing and dehumidification removes far more moisture, reduces mold risk, and improves air quality. Vapor barrier alone only slows ground moisture entry.
Do I need a dehumidifier for my encapsulated crawl space?
Almost always, yes—especially in humid climates. Dehumidifiers maintain target humidity (45–55 percent), preventing mold and wood rot.
Can I DIY encapsulation or should I hire a pro?
You can lay a basic vapor barrier if the crawl is dry and problem-free. Hire a pro for sealing walls/perimeter, drainage, mold, or if you want warrantied results.
What maintenance is needed after installation?
Regular inspections help extend the lifespan of your Crawl Space Encapsulation system and prevent future moisture problems.